Replication
You can configure the schedule settings after selecting a bucket as the replication target.
Client folder is not supported as the replication target to configure the schedule settings.
Using Replication option of ActiveImage Protector or ImageCenter with Replication process of Actiphy StorageServer is not supported.
Settings
You can configure the following settings for the replication targets.

Replication Policy
Select an option for the replication policy from the following: The items processed in the bucket through a backup schedule will be the target of replication process according to the enabled policy.
The backup image files consolidated, changed according to the Retention Policy or manually deleted will be the target of Replication process.
-
Replicate all target image files Check the box to enable replication of all target backups, if none of the options, i.e., [Replicate only the last generation], [Replicate only incremental files] or [Keep target items the same with source] is selected.
-
Replicate only the last generation Check the box to enable replication of only the last generation of backups (including incremental backup).
When a new generation of backup is created in the destination, the oldest generation of backup is deleted from the replication target upon execution of the subsequent replication task.
-
Replicate only incremental files Check the box to enable replication of only incremental backups.
-
Keep target items the same with source
Check the box so that the target folder configuration mirror the source bucket.
Sending E-Mail
- Sending E-Mail Check this box to send E-Mail. You can select the status of backup task triggers the notification.
Performance
-
Execution Priority Set Replication task execution priority.
-
I/O Performance Set the I/O performance for replication if not a local disk or network shared folder is specified as the replication target.
-
Use network throttling Set the amount of network bandwidth in KB/sec to define the maximum throughput for replication to local disk, network shared folder, SFTP and FTP only.
Replication Target
Please select a replication target. Click […] to browse to a folder or specify the path to the location of the folder. A sub-folder named with the bucket name is created at the specified path where the created backup files are replicated.
When Actiphy StorageServer is specified as the destination, no sub-folder is created.

Actiphy StorageServer
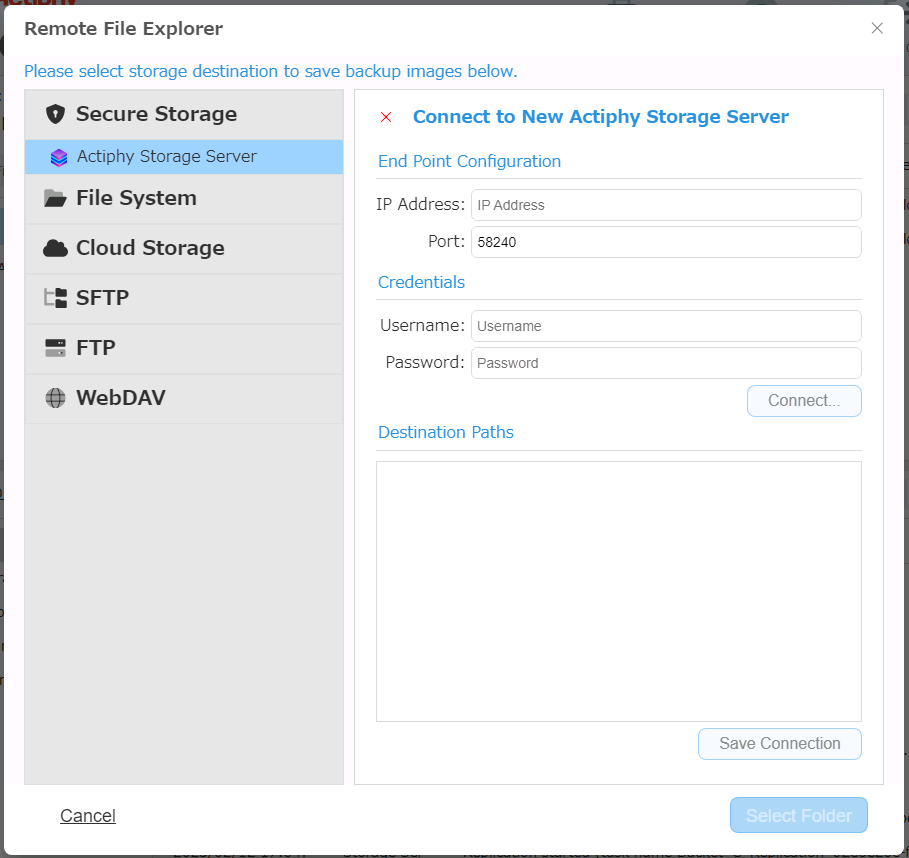
Enter IP address, port, credentials information and click [Connect…], specify the bucket and click [Select Folder]. Click [Save] and the connection information is saved.
Network Shared Folder
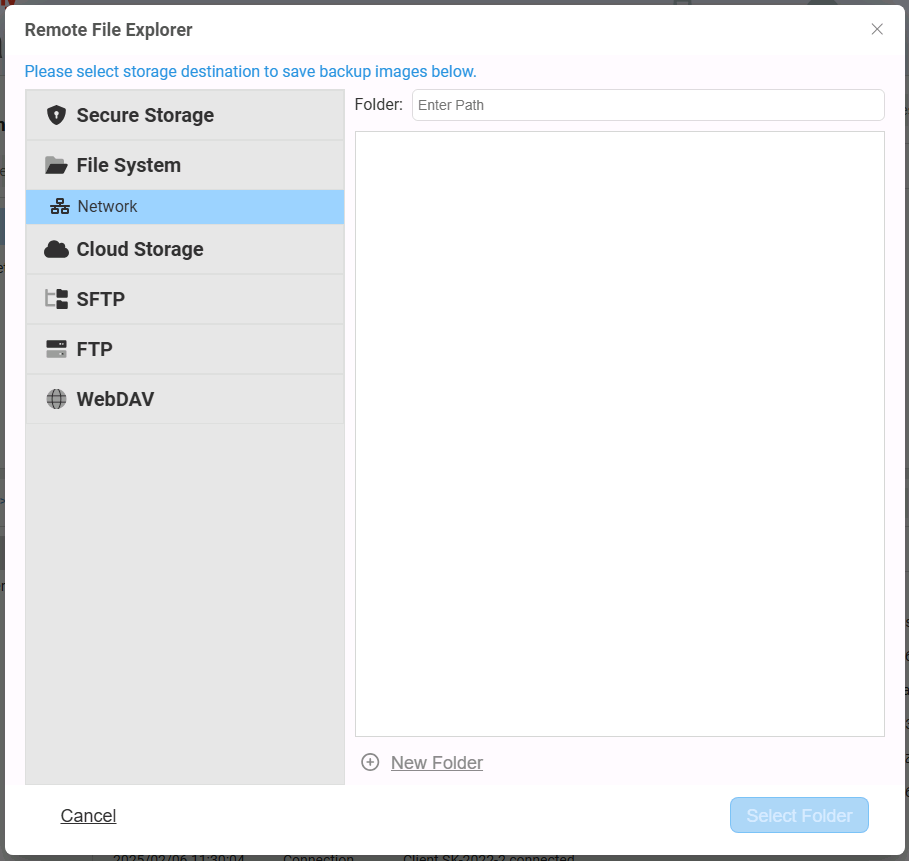
Please specify the folder’s path, enter the credentials information and click [Select Folder].
When Actiphy StorageServer is running as Docker container, please specify the path in “//” format instead of “\\”.
Amazon S3
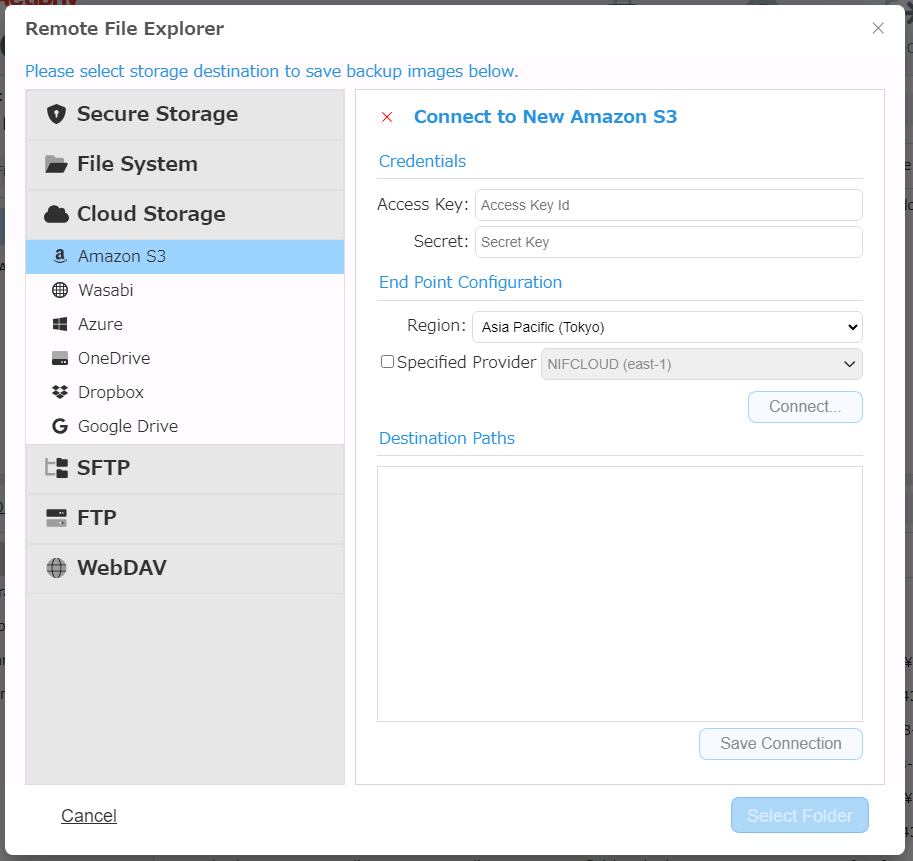
Enter the credentials information and click [Connect]. When the connection to the service is successfully established, select a bucket/folder in tree view for replication target and click [Select Folder]. Click [Save] and the connection information is saved.
Enable [Select Provider] to specify the provider. [NIFCLOUD(east-1)] is selected by default. If you need to use a different provider, click [Add New…] and configure the following setting:
-
Name Specify any display name you like
-
End Point Enter the end point provided by the provider.
-
Region Enter the region provided by the provider. If not provided, this item may be left blank.
For more details about how to obtain or verify the respective information, please contact the provider.
Wasabi
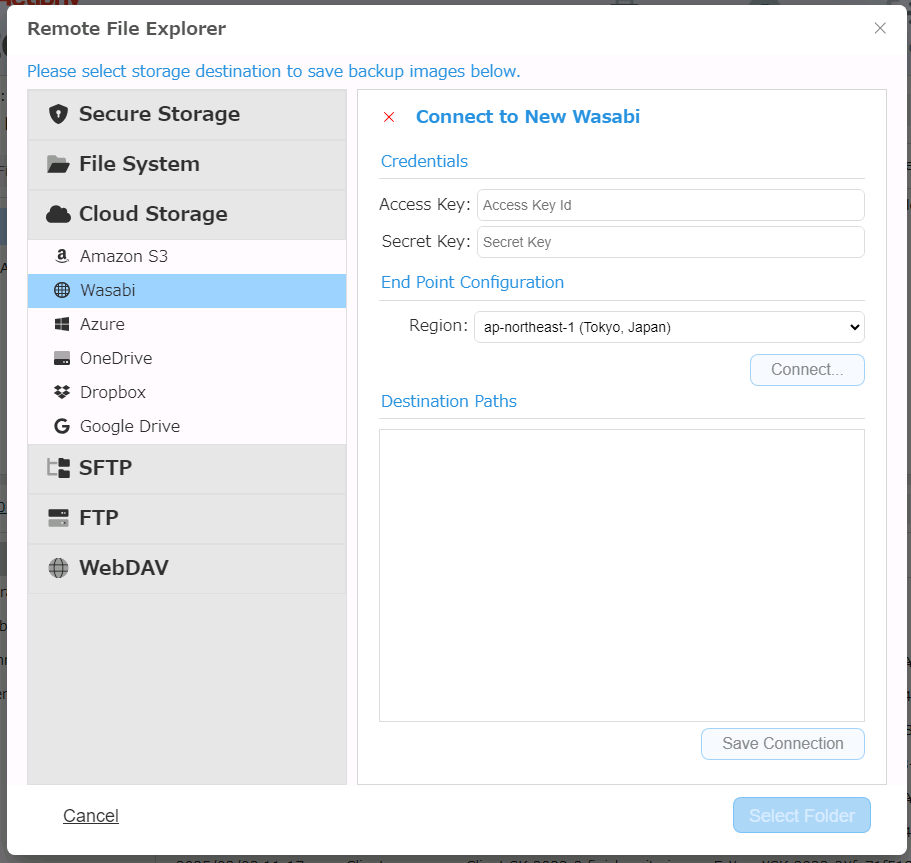
Enter the credentials information and click [Connect]. When the connection to the service is successfully established, select a bucket/folder in tree view for replication target and click [Connect]. Click [Save] and the connection information is saved.
For more details about how to obtain or verify the respective information, please contact the provider.
Azure
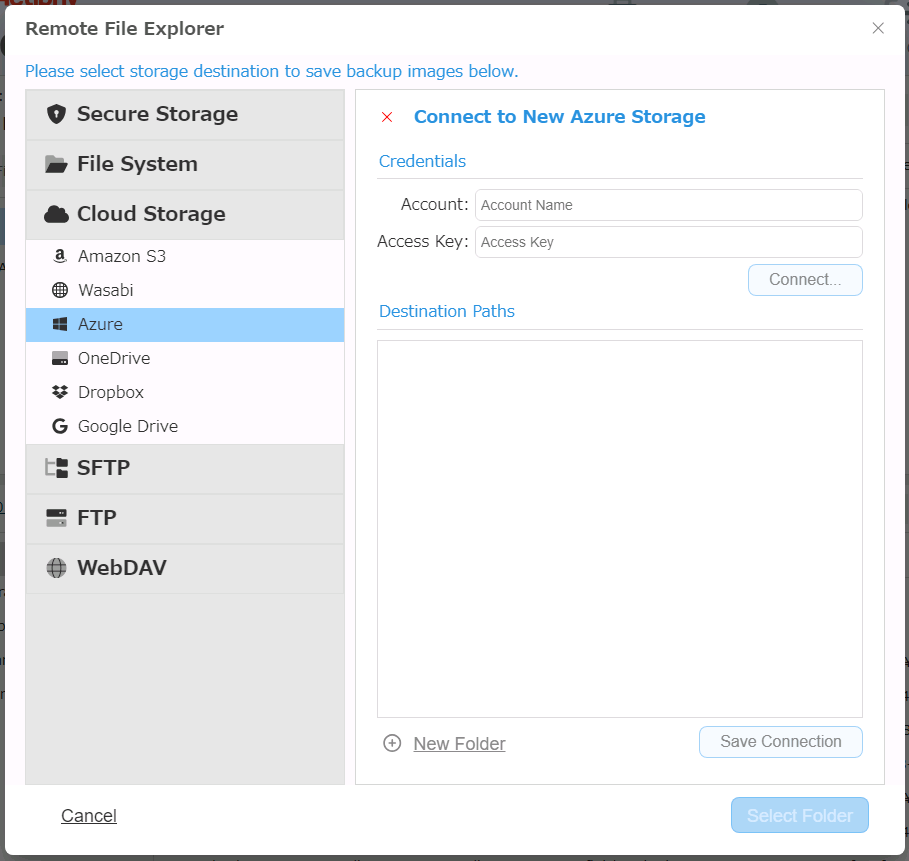
Enter the credentials information and click [Connect].
When the connection to the service is successfully established, you can select a container/folder in tree view for replication target and click [Select Folder].
Click [Save] and the connection information is saved.
For more details about how to obtain or verify the respective information, please contact the provider.
Even when a new folder is created and specified as the replication target, the folder will not be created until the created backup files are replicated.
OneDrive
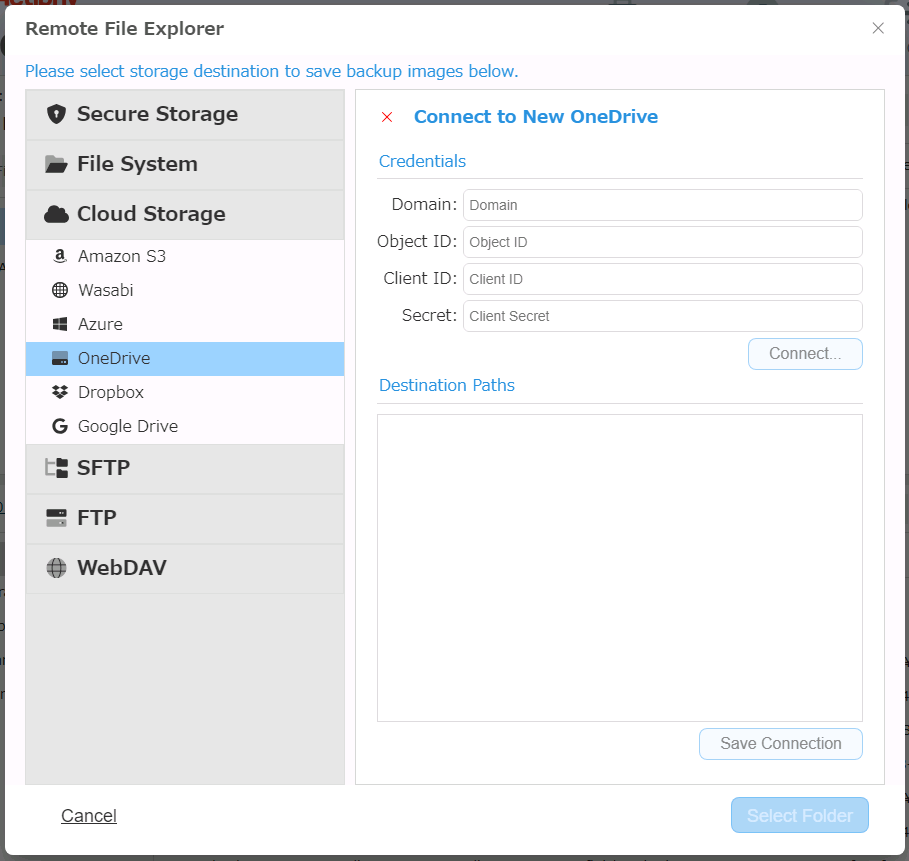
Replication supports OneDrive for Office 365 Business.
Replication supports the maximum file size 15360MB for processing. A Replication task for a backup exceeding the maximum size will be cancelled. It is recommended to select [Advanced Setting] - [General] and enable [Split image into xx MB files] before starting the task.
Enter the credentials information and click [Connect].
-
Domain Enter the domain name confirmed with Microsoft Azure portal. (Ex: replication.onmicrosoft.com)
-
Object ID
Enter Object ID for OneDrive Account User confirmed with Azure portal. -
Client Secret Enter the client secret confirmed with Microsoft Azure portal.
When the connection to the service is successfully established, select a folder in tree view for replication target and click [Select Folder]. Click [Save] and the connection information is saved.
For more details about how to obtain or verify the respective information, please contact the provider.
Dropbox
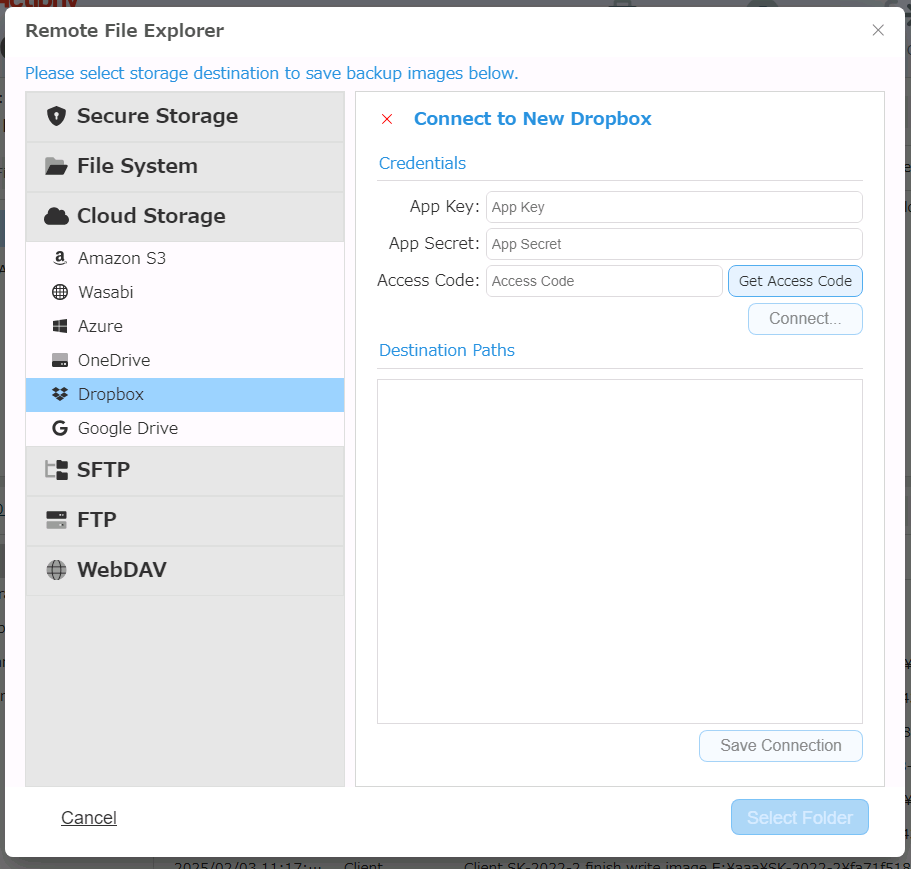
Replication supports the maximum file size 20480MB for processing. A Replication task for a backup exceeding the maximum size will be cancelled. It is recommended to select [Advanced Setting] - [General] and enable [Split image into xx MB files] before starting the task.
Enter the credentials information and click [Connect].
-
App key Enter [App key] registered for Dropbox Developer.
-
App secret Enter [App secret] registered for Dropbox Developer.
-
Access Code When App key and App secret are entered click [Obtain Access code] and Web browser will be launched. Follow the instructions from Dropbox API and obtain Access Code.
When the connection to the service is successfully established, select a folder in tree view for the replication target. Click [Save] and the connection information is saved.
Specify only a folder located under ‘Dropbox > Apps >
For more details about how to obtain the access token, please contact the provider.
Google Drive
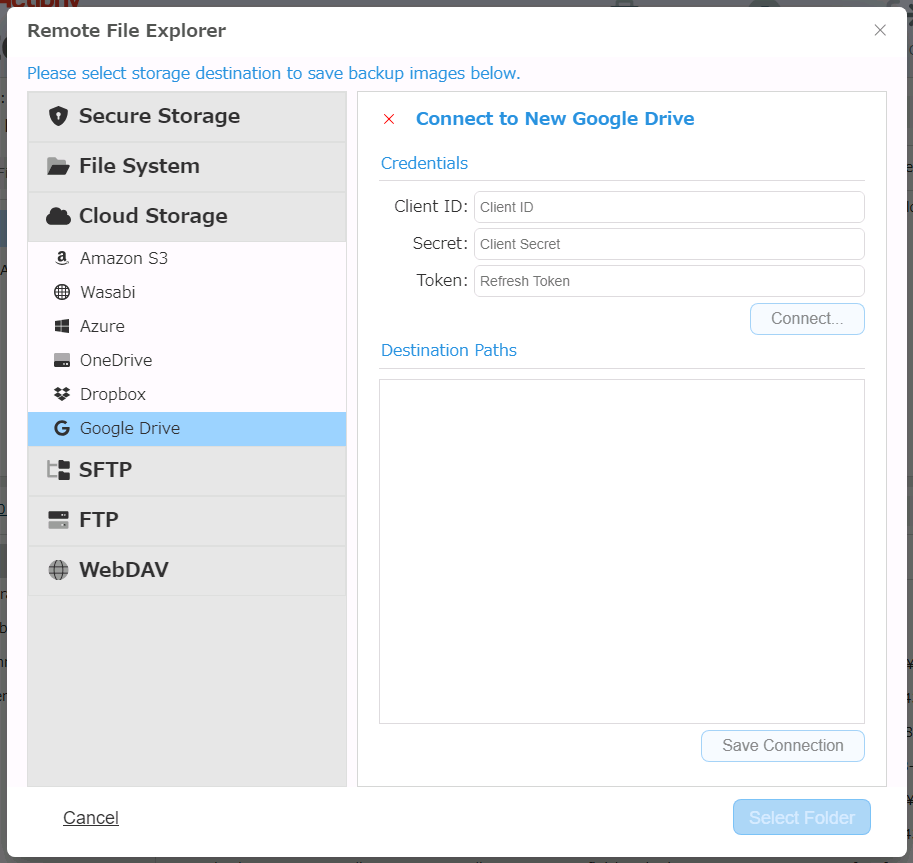
Replication supports the maximum file size 10240MB for processing. A Replication task for a backup exceeding the maximum size will be cancelled. It is recommended to select [Advanced Setting] - [General] and enable [Split image into xx MB files] before starting to run the task.
Enter the credentials information and click [Connect].
-
Client ID Enter the Client ID for OAuth client ID issued by Google Cloud Platform.
-
Client Secret Enter the Client Secret for OAuth client ID issued by Google Cloud Platform.
-
Refresh Token Enter the Refresh Token issued by Google Developers.
When the connection to the service is successfully established, select a folder in tree view for the replication target. Click [Save] and the connection information is saved.
For more details about how to obtain the access token, please contact the provider.
Please make sure Google Drive API is enabled on Google Cloud Platform.
SFTP
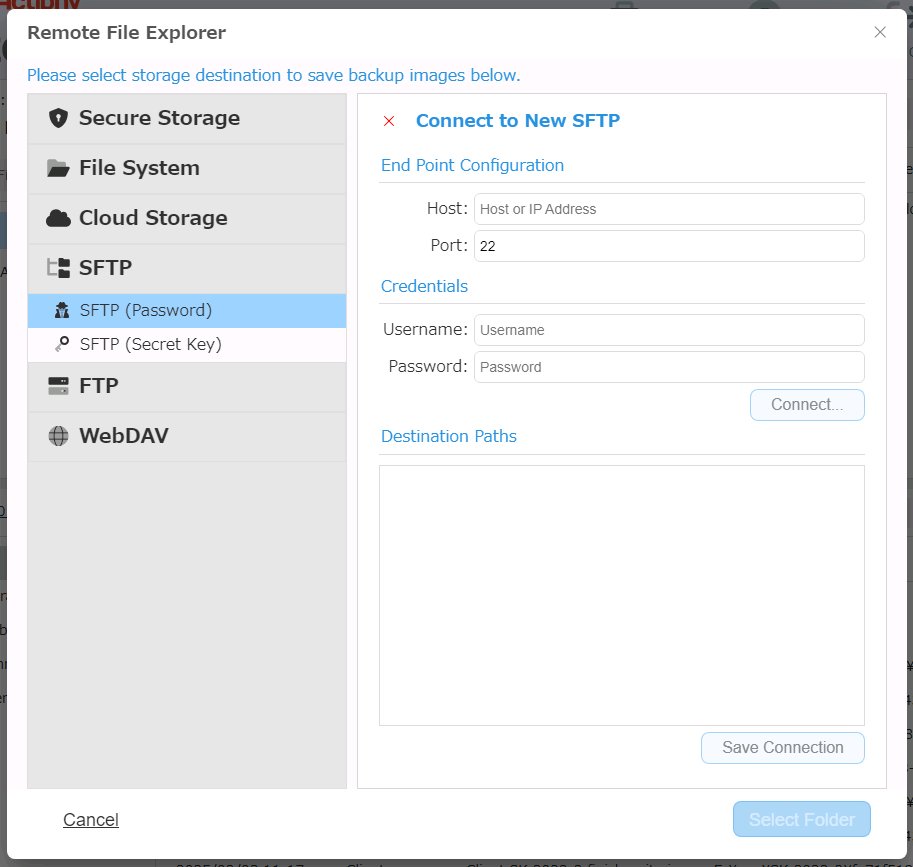
Enter the host name or IP address assigned to the SFTP server as well as the Port number. Enter the credentials information and click [Connect]. When the connection to the server is successfully established, select a folder in tree view for replication target. Click [Save] and the connection information is saved.
You can select [SFTP (Password)] or [SFTP (Private Key)] for authentication to access SFTP server.</br>When Private Key is required for authentication, you need to transfer the private key to the container and specify.
FTP
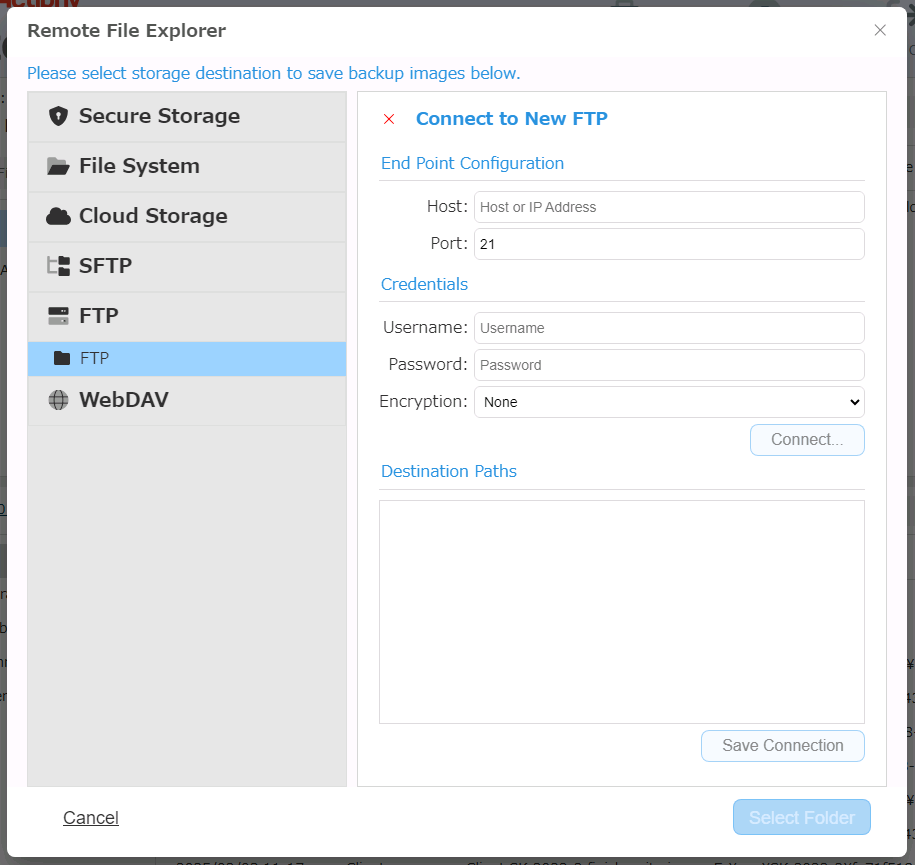
Enter the host name or IP address assigned to the FTP server as well as the Port number. Enter the credentials information and click [Connect]. Select an encryption method and FTPS. When the connection to the server is successfully established, select a folder in tree view for replication target. Click [Save] and the connection information is saved.
WebDAV(https or http)
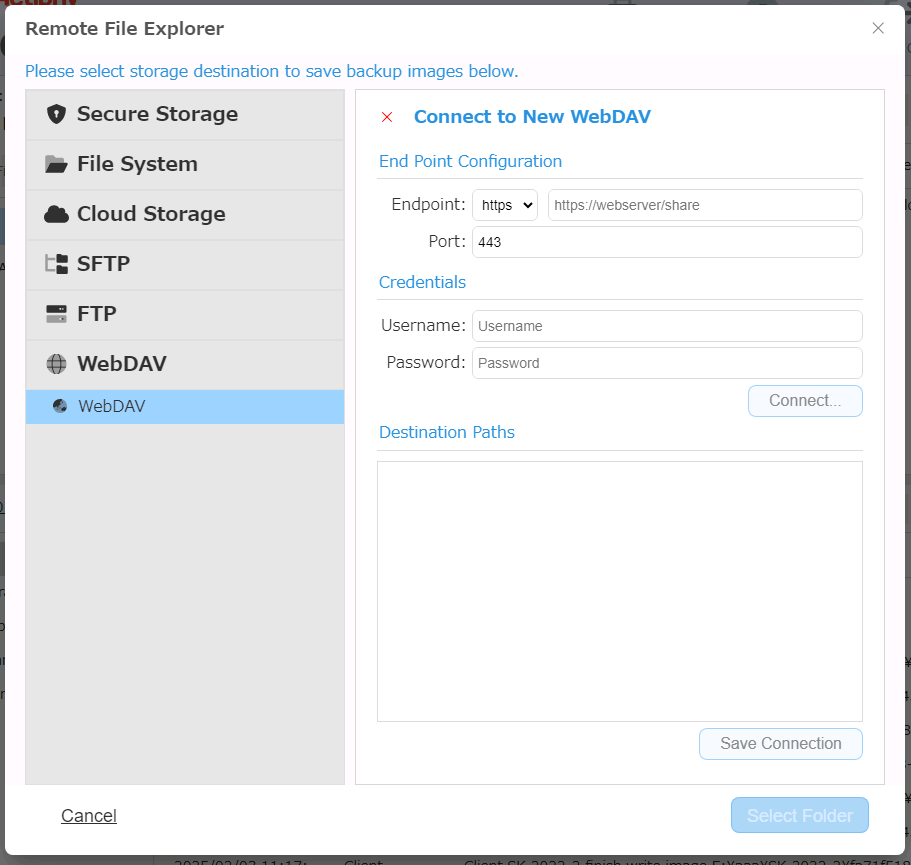
Enter the host name or IP address assigned to the WebDAV server as well as the Port number. Enter the credential information and click [Connect].
When the connection to the server is successfully established, select a folder in tree view for replication target.
Click [Save] and the connection information is saved.
When adding a replication target, click [Add Task].
Click ‘trash icon’ to delete the unnecessary replication target.
To stop the replication process, uncheck the box for the replication target instead of deleting.
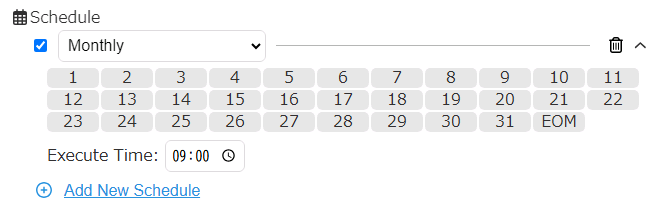
Schedule
Select a schedule type from the following:
-
Immediate Replication task runs immediately when a new incremental backup is created.
-
Monthly
Replication task runs on monthly basis. -
Weekly
Replication task runs on weekly basis. -
Designate Specific Days
Replication task runs on specified days. -
Designate Specific Date/Time
Replication task runs on specified date/time.
Click [Add] to add replication schedule.